
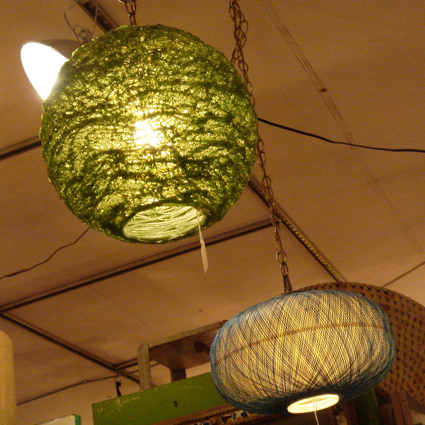
Being enamored with all things vintage, I have always been smitten on string lamps. Each time I saw one at an antique mall, like the ones pictured here at Uncommon Objects, I would think to myself one day I am going to figure out how to make these. Apparently this was the week.
Today on I Love to Create I’ll walk you through the trials and tribulations of making a string lamp of your very own.
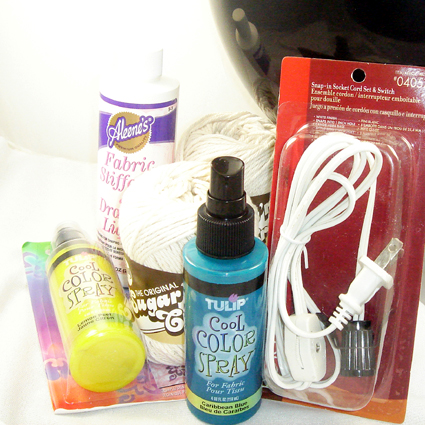
SUPPLIES
Aleene's Fabric Stiffener & Draping Liquid
Balloon
Spray Bottle
Water
100% Cotton Yarn
Tulip Cool Color Spray for Fabric
Light Kit
Ball Fringe
Aleene’s Hot Glue Gun Kit
Scissors
UNWINDING YARN
The first thing you want to do is convert your yarn from a ball to a hank, this will make it easier to dye. Pull the string from the ball and wrap around your hand and elbow like you are wrapping a long electrical cord.
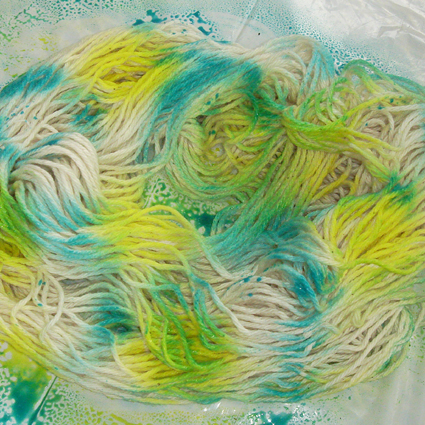
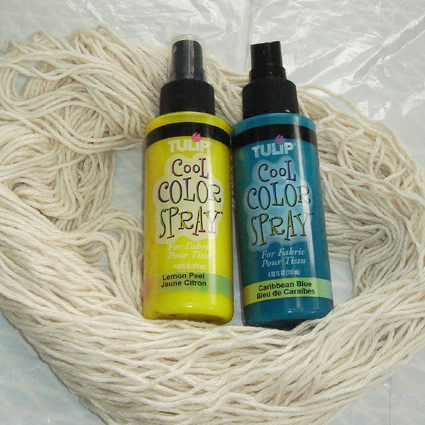
DYING YARN
Next take your hank of cotton yarn outside and place on a piece of plastic. Choose two shads of complimentary Tulip Cool Color Spray. I opted for yellow and teal so that when they mixed it would be green. Spray your yarn in various spots. Allow to dry 72 hours and wash in laundry machine.
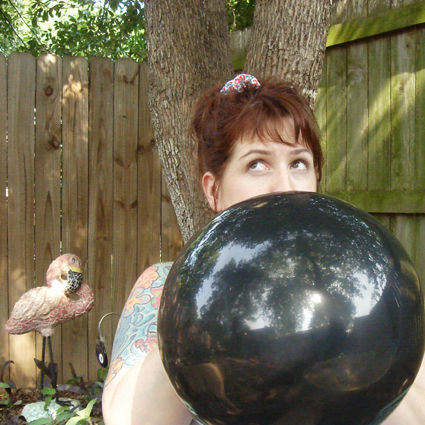
BALLOON
Next step blow up your balloon. Whatever size balloon you choose will be the size of your lamp. The balloon acts as a form for your lamp.

FABRIC STIFFNER
Wearing gloves saturate your dyed yarn with Aleene's Fabric Stiffener & Draping Liquid and wrap around your balloon in an arbitrary pattern. Be sure to try and get even coverage with your yarn so that no spots are more thick or sparse than another. After you have finished whatever amount of stiffener is left in the bottle combine with an equal amount of water in a spray bottle and coat the balloon and string allover.
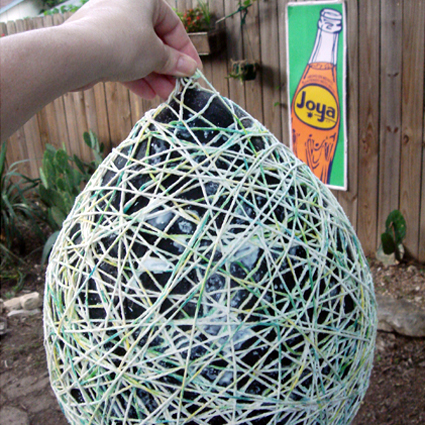
You should use the entire hank of yarn and cover majority of the balloon. Feel free to dye more than one ball of yarn for thicker coverage or experiment with using something thinner like embroidery floss or thread.
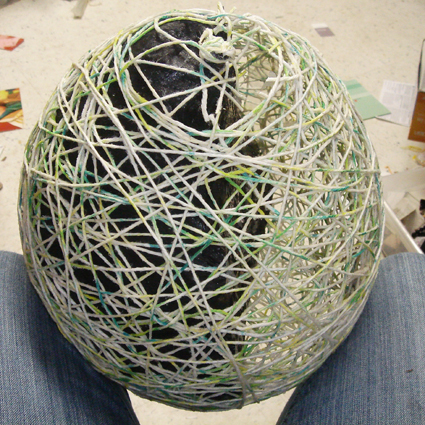
POP
After your yarn has dried completely, pop your balloon and remove from inside your lamp.
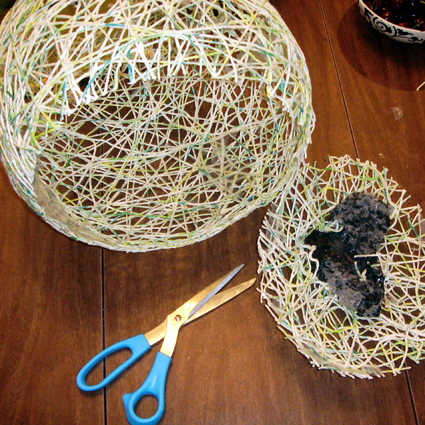
CUT INTO SHAPE
I wanted the bottom of my lamp to be open so using scissors I cut the bottom portion of the string. I also cut a small hole in the top of the lamp to insert my light kit. TIP: be sure not to cut your top hole too large like I did.

ADORN
Everything is better with ball fringe. Using a hot glue gun adhere trim to bottom edge of lamp.
LIGHTS, CAMERA, ACTION
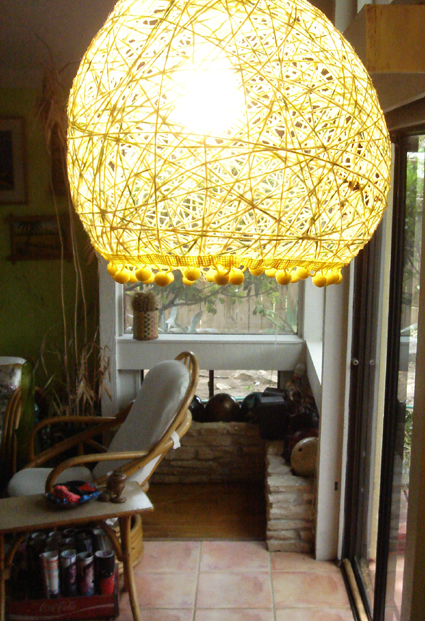
Insert your light kit into the lamp, plug that bad boy in and enjoy!
If I knew then what I know now I would have done a few things differently. Like for instace I would have used a bouncy ball instead of a balloon to get a rounder shape like the Crafty Nest suggested. I would have been a little more heavy handed with the dye. Instead of trying to wrap the balloon with yarn from the hank I would have put the yarn on a pen or stick like string on a kite. I wet the string with stiffener as I wrapped and I wish I had listened to the advice on ReadyMade and wrapped first and wet the yarn later. Other than a few minor craftnical difficulties I thought my lamp turned out pretty dang crafty and cute.
Further String Reading:
Paper Crochet
Pop Goes Crochet
A Crafty Confab with Vickie Howell
Cute! I wonder if there's any way to coat the shade with resin to make itm look even funkier. Hmm...
ReplyDeleteYou can also use those cheap plastic bouncy balls you buy at the dollar store if a balloon isn't sturdy enough. These lamps remind me of those hollow egg shaped Easter Baskets I used to have as a kid. You know the ones that look like they were made out of pastel silly string with the round hole cut in the front for your goodies to be stuffed inside along with all that plastic grass. Those were great!
ReplyDeleteStephanie those Easter baskets were awesome. Ya I mentioned in the "if I knew then what I know now" section about a bouncy ball. I think it would have been better and given it a nicer shape. Next time!
ReplyDeleteKim, I'm sure you could use resin. I was thinking that, but then I thought it would eat my balloon, be extra toxic and extra messy. However, super sturdy. I could have added paint to the stiffener which might be cool instead of dying the yarn ahead of time that is another option.
Yeah! thta's just what I wanted! Thank you so much! :D
ReplyDeleteI think its adorable! I'm wondering, could you go back later and spray a bit more color on it or will the color not adhere to the string now that you have the stiffener liquid on it? Either way, I think you succeeded wonderfully!
ReplyDeleteKris I thought the same thing about adding more dye later, but I was scared that it would mess it up. I might do the add dye to the stiffener trick next time. I want to make one with fabric scraps next. What I really want to do is make one of these doily lamp shades.
ReplyDeleteThat is one awesome project! It's so unique and being able to paint it the colors you choose, you could make one for every room! :)
ReplyDeleteI've been looking for a replacement for my beloved liquid starch (no where seems to sell it anymore!) and the fabric stiffener might be just what I was looking for! I'm definitely going to test this with some embroidery thread and make myself some pendant lamps. I'll let you know how it goes!
ReplyDeleteGG not only do I want to see your lamp made with embroidery thread, I want to know how much of it you have to use.
ReplyDeletethis is great.. I wanna try it.. thanks for the inspiration
ReplyDeleteWay unique, I love it! I'll be linking to this.
ReplyDeleteThis is fantastic! Thanks so much for the tutorial :-)
ReplyDeleteYou can also use white elmers glue.. cheap and easy to find! (but if it gets wet its a problem.
ReplyDeleteThe dying idea is interesting, i have always just used colored string...
Can you show us a picture of how you mounted the light in it?
ReplyDeletelove this project. any information about where you bought the lamp kit would be great! Been trying to find one online, but not sure of which one works for this project. Also has anyone tried this project using black yarn string? Curious as to how it might turn out or if it would be too dark as a light fixture...
ReplyDeletewonderful!!
ReplyDelete